Quick Jumplinks to Navigate
Have you ever come across those amazing travel videos that get hundreds of thousands or even millions of YouTube views and are purely astonishing? Everything looks absolutely perfect and you would think that there’s a whole team behind the camera.
Actually, most of the times, that kind of videos are recorded and edited by one guy who is not necessarily a professional and doesn’t own a $5,000 camera. So if you are looking to create the exact same kind of videos, you landed on the right page.
So today, I will talk to you about the things I have learned holiday video editing in years, making travel videos, mostly through trial and error, and share with you cool tips that I wish I knew before I started making travel videos.
1. Think Location

 Choosing a concrete building in a ramshackle street next to a construction site is not going to inspire people. You want maximum impact.
I filmed at various locations on one of Australia’s most famous beaches – famous because it reaches the living room of thousands of homes nightly via Australia’s much-loved TV drama, Home and Away.
I choose different places to film: the quieter Pittwater area, the lighthouse on the cliff, the beach, at the ocean pool and a cafe.
2. Background Noise
You had to constantly inspect the area for any lawnmowers, overhead planes or passing trucks. You also had to be prepared to retake numerous times when a toddler hiding in a capsule starting crying right at the end of a long tour that we were nailing.
3. Background Story
How can you combine your travel story into the travel video?
Can you ask a passer-by to stand in the backdrop taking in the views, laughing or talking? Can you film one of you taking photographs and crazy tourist shots?
Try to take the random discussions you have with your traveling partner about what you are experiencing and how you feel.
4. Interesting Angles
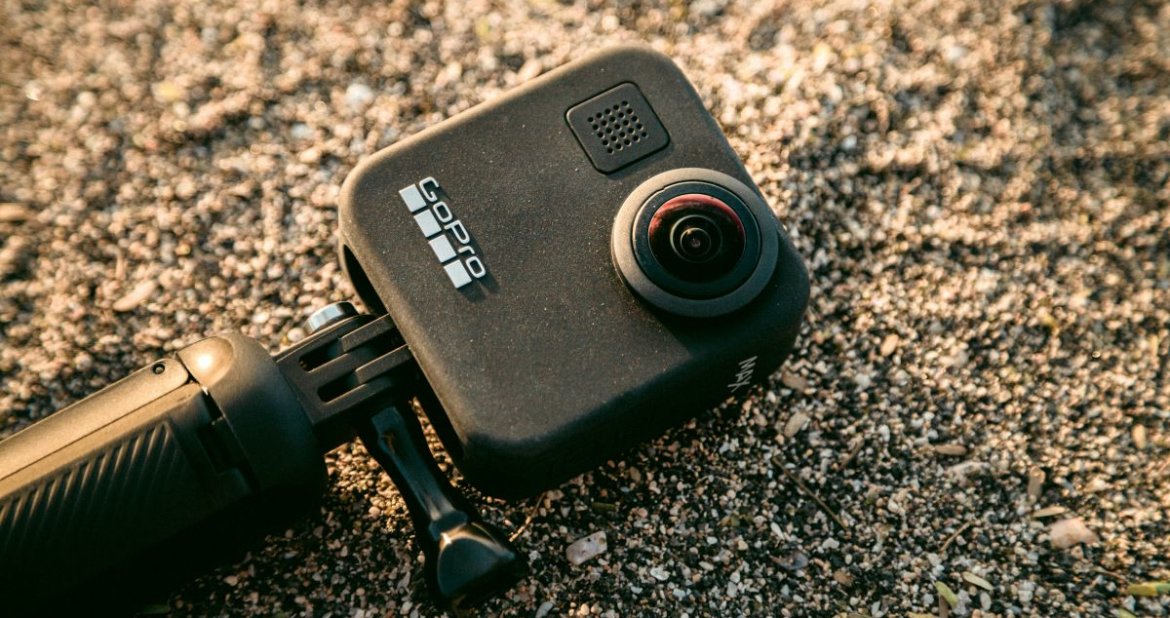
If you’ve got a GoPro, this will be easy. Bind it to your head when you go hiking, extend your selfie stick and rotate 360 degrees. Sure, some of the shots may end up on the digital so-called “cutting room floor”, but you’re bound to get one or two nice ones in there. It’s always the shots you think are going to be worthless that end up being in your video. Also, don’t be afraid to get close-ups shots. It’s a good idea to use a blend of long, establishing shots (the outside of your hotel, the beach), mid-shots and close-ups.
5. Long And Short Shots
The story needs to be told from different angles. Close-ups and far away shots of you doing the travel activities that suite the place.
I hiked over the bush, took beach walks, stared in open wonder at the lighthouse and views, and walked along the beach. Each of these activities and locations long shots was grabbed and then closed up when I shared our tips.
6. Slow-Motion
Slow motion is what makes videos look cinematic and so much cooler than they really are if you would play them at normal speed. So if you can film in slow motion, then you certainly should.
An entry level DSLR such as the Nikon D3300 will let you film 1080p videos at 60 fps, but if you want to go higher than that you will need to spend more money on a higher quality camera or sacrifice the resolution.
Once you film your high frame rate clips, through them in the timeline of your video editing software and slow them down to 30 fps and bang….that’s your slow-motion video.
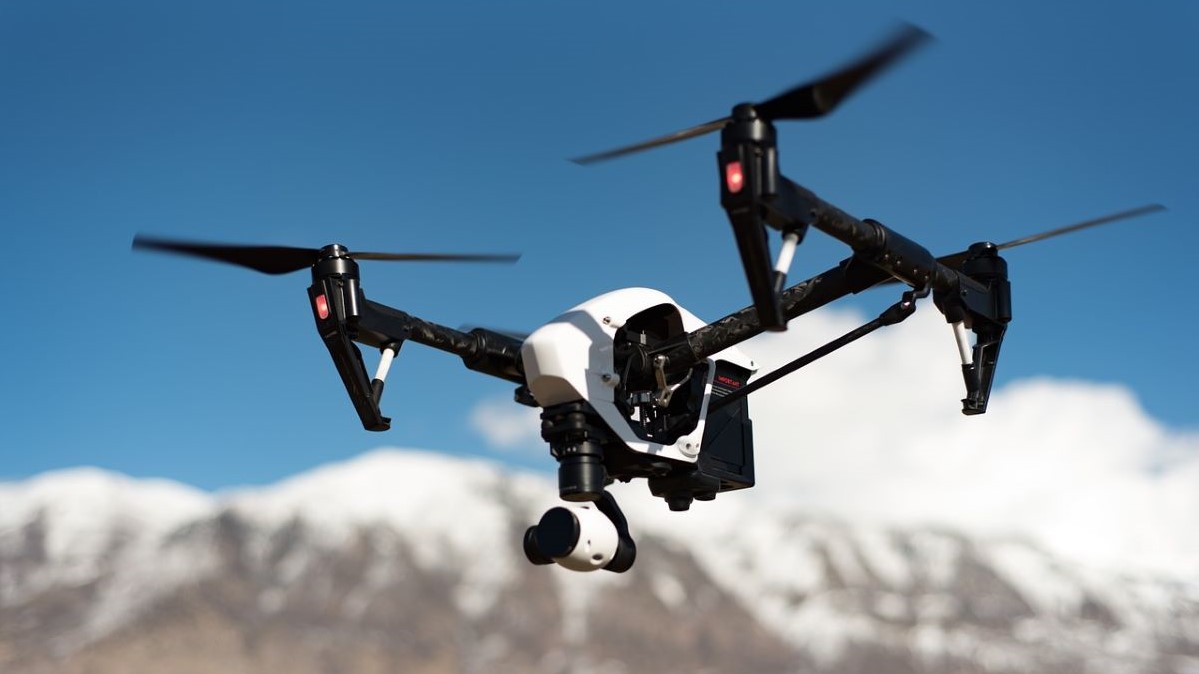
7. Use A Drone
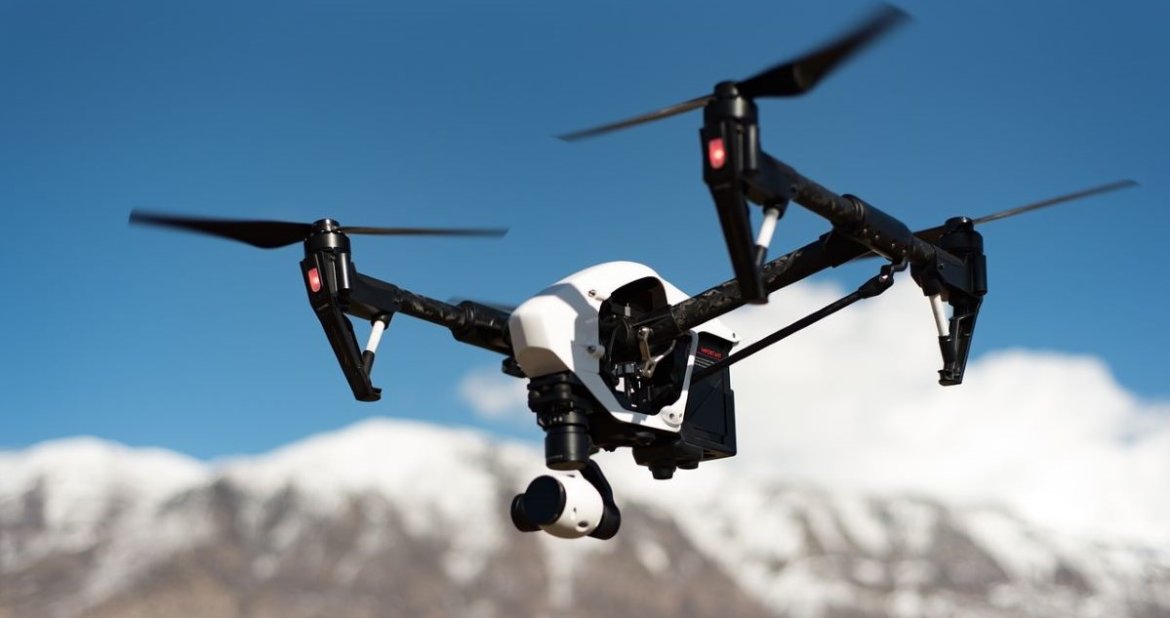
Drones are not nearly as expensive as they used to be. It’s extremely easy, cheaper and convenient to get awesome aerial shoots that will take away the breath of your viewers.
Drone shots work great if you are planning to include plenty of landscape shots in your travel video, but you can use them for filming architecture, city life and pretty much anything else you can think of.
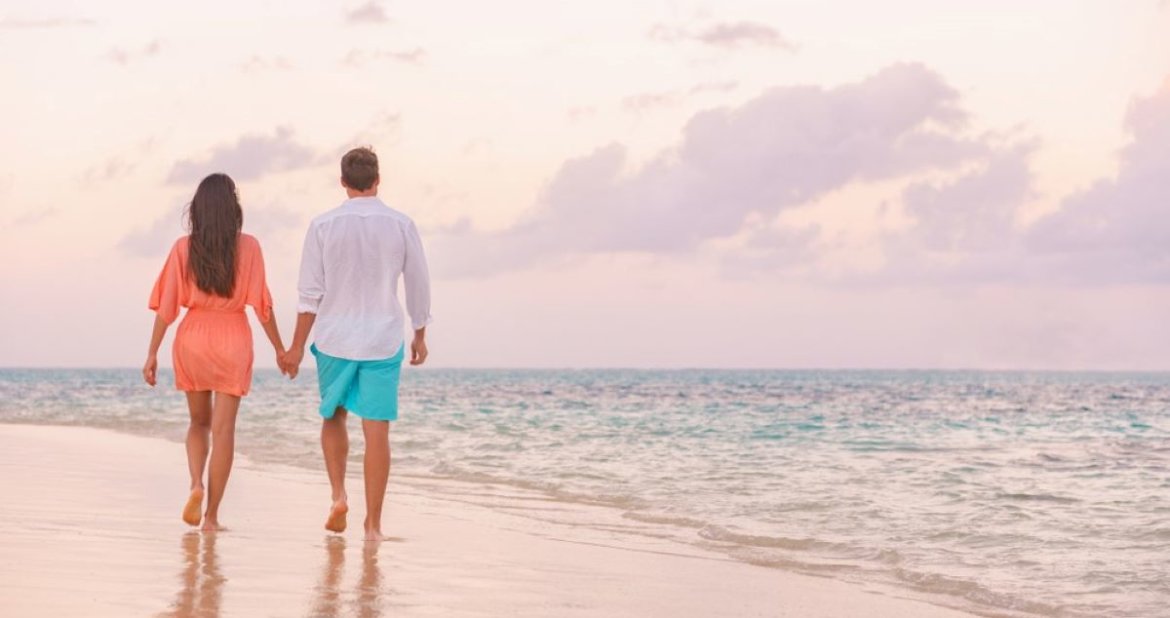
Golden Hour
Lighting is super important for both photographers and videographers. It can make or destroy a picture or a video. When you are traveling you will certainly shoot most of your shots outside, which is great. There’s plenty of natural light and you should not use features such as the ISO to digitally brighten the shoot, and sacrifice the quality.
But too much natural light can actually destroy your shots. I know this sounds a bit illogic, but most consumer grade cameras have small sensors which will over-expose the shoot if there’s too much light. That’s why to colors look so blown out in some shots.
So what you can do instead is shooting when the sun is low in the sky, really, really close to the horizon. That’s the time of the day referred to as the golden hour by photographers and videographers. Everything will look far better and tremendous at that time.
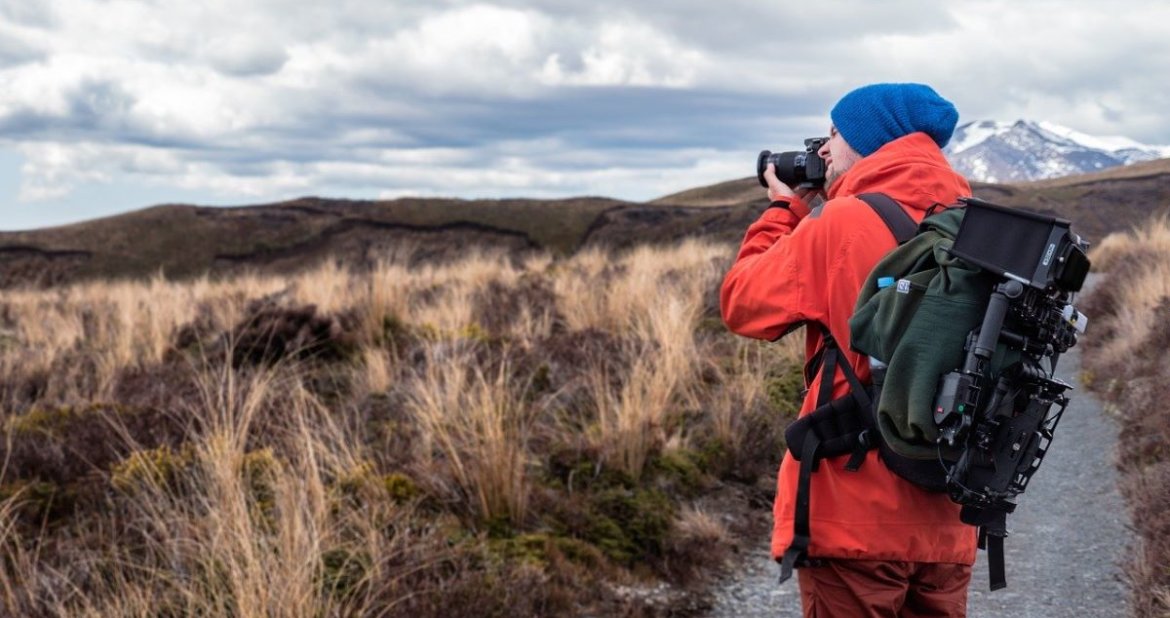
8. Video Editing

Lastly but not least, once you are back from your adventure you will need to take the time and edit the bits and pieces of your clips into one final travel videos.
This can be a daunting task if you’re new to editing but once you get the hand of any video editing software you will be excited about how your edits will look like and if you are like me you will get hooked in no time.
So there you guys have it. Eight cool tips to get you started on making better travel videos. I challenge you to go out and start implementing at least a few of them during your next trip and let me know how it goes.